Follow Amy on Instagram

Wednesday, July 12, 2017

Tips To Stay Motivated To Paint


I always find myself chuckling a bit when someone, either a fellow artist, or a "civilian" (all non-creatives), asks me if I find it difficult to stay motivated to paint and produce large quantities of work. I follow with an admission of sorts: "I can't get myself to stop!!! I don't do anything BUT paint! You should see the state of my house." As an aside, my sadly neglected house is why I don't have dinner parties anymore. That and the fact my cooking's not so much. But I get this question a lot. How do I "make" myself paint every day? What if I'm not in the mood they ask, as if motivation comes before action. I have come to realize I have developed an important and vital skill: discipline.

I feel very gratified when fellow artists remark they really admire my strong work ethic, which is grounded in a deep desire to improve. Alternately, there's more than a few civilians out there that see me as a cautionary tale. As in: Look at that poor thing toiling away. Someone stop her and put her out of her misery! Well. Anyway. Putting aside the whole debate as to whether it's worth it (it is), how do I stay motivated? How did I grow this discipline to stay on task, and treat my work with the respect and dedication it deserves? 

First, let me be clear: I didn't start from day one being as regimented and putting in the hours I do today.  In the early days, I'd find myself getting kind of fatigued after about hour or two of slapping around paint. And painting a couple of hours a few days a week was not getting me anywhere much in the quality of my work. 

So I dug deep and tried to figure out how to keep myself on task. As one approaches any project, I needed a plan. So that's what I did. I made a PLAN. This plan included setting clear and concrete goals. My goal was (and is) to become a skilled and beautiful painter. And like it or not, that was going to involve hours of practice. Later, I discovered those practice hours eventually morphed into hours of painting for actual SHOWS). This was a real "ah ha!" moment: Hard Work + Discipline = Reward!

This is what I discovered helped me stay on the job. And I continue to use these strategies on a daily basis.

HOW TO STAY MOTIVATED TO PAINT

1. Time block in writing. So important. When I write down: 10 am to 12 pm work on large scale phone, I find myself so much more likely to do just that. I usually write out a week's plan in pencil as everything shifts a bit. A particular painting may get finished ahead of time...actually that never happens. They all take longer. But new projects do enter the scene unexpectedly and so on.

2. Work on several paintings at a time, so as to not get bored with any particular project.

3. Take hourly breaks for ten minutes or so. (I literally time myself)

4. Take an hour lunch. Clearly define a time for it so you know it's coming: I get to stop at noon.

5. Alternate your background noise.  If I find myself feeling get me outta here, I change what I'm listening to in the background. If I've been listening to NPR, I switch to classical music or some jazz. And after a bit of that, I switch to easy rock - Elton John, James Taylor, etc.). I strongly encourage you to try this. It's like magic.


6. Organize your work space. When I start to get particularly stir crazy, I stop painting and switch to cleaning and organizing my studio and work space. Also extremely effective. A tidy space is very uplifting to your spirit.

7. Seek inspiration. Go through artist magazines, Instagram or Pinterest and get motivated by others work. I usually do this first thing in the morning.


8. Use some creative self talk. Sometimes when I want to quit, I say to myself: okay, just work on this one section for another half hour. Then a half hour goes by and that feeling has passed. I might even get in a couple more hours past that first half hour.

9. Buy a new brush or tool so you feel fancy and fresh.


10. Do not paint in your pajamas. It's just depressing.
                                        
Most importantly, understand, accept and embrace that you grow discipline like a muscle. Push yourself just a little bit every day and you will build strength at staying on task. Or think of it like brushing your teeth. You're not in the "mood" to brush your teeth, you just do it so your teeth won't fall out. Don't dwell on the drudgery, just DO IT. Keep your eyes on the prize: putting solid hours in really will lead you to becoming a skilled and beautiful painter!

Saturday, December 3, 2016

Step by Step: Deconstructing an Oil Painting From Start to Finish

Losing It Two, Deconstructed


I've been asked many times how I go about painting my gumball machines. It's a process that isn't easily described at an opening! I keep telling people I'll get back to them in a blog post. So now that I finally remembered to take pictures of my work from the beginning of my process to the end, I can share the details of how I go about creating one of these detailed paintings. 

NOTE: I apologize, I could not find my photo reference for this piece. Ugh. But I encourage you to use a good quality camera and take as many photos as you need, experimenting with lighting and composition. Compare one photo to the next. Which one reads better? I try to use indirect, natural lighting whenever possible, including for this piece. My trusty Nikon D7100 always brings the goods.  If space allows, in addition to your photo reference, set up the still life in your studio so you can refer to it when you work on areas that are unclear or confusing.  

MATERIALS


Paint Brands: Windsor Newton, Williamsburg, and Old Holland 

Specific Colors: Oh my gosh, so many! My list of colors includes: cadmium red, yellow and orange. Burnt umber, cobalt blue, ultra marine blue, titanium white, alizarin crimson, sap green, ivory black, payne's gray. Bright red, cobalt violet. For glazing: alizarin crimson, sap green, indian yellow, transparent red ochre. 

Brushes: Utrecht: variety of filberts, sizes. My current favorite: The Utrecht Tuscan Series 206. For the smallest detailed areas including lettering: cheap detail brushes from the craft store. They don't last long, but do the job for those tiny details.

Medium: 50/50 Mixture of Gamlin's Gamsol Odorless Mineral Spirits and M. Graham Walnut Oil

Support: Fredrix Blue Label (Extra Smooth) Stretched Canvas

Varnish: Gamblin's Gamvar Varnish

STEP ONE


Step One: Detailed Drawing in Pencil. NOTE: When I am satisfied with the accuracy of my drawing, I go over the penciled sketch with an eraser, lightly. I leave a readable, ghost of the drawing of the future painting. Because nearly all of the lead has been removed from the surface, there is no smudging of the pencil when I apply the paint. I know many artists who spray their sketch with fixative, and then on top of that a reworkable varnish. This strategy also works great, but I make every attempt to use as few harmful chemicals as possible.

STEP TWO

Step Two: I create an underpainting using burnt umber and titanium white. In the darkest areas, I add ultramarine blue to the burnt umber. I am trying to establish strong value contrasts at this stage. Having said that, I want my values to be limited (which will help create that strong contrast). My goal is limiting the underpainting to three values. What I actually deliver is about five - I try to always aim higher than what I can do.

 During this stage I am also stopping often to check that my drawing is accurate. Methods to check accuracy: Stepping  back often, viewing my work in a mirror, and taking pictures of the work with my phone. All of these methods help me spot inaccuracies.

STEP THREE

 Step Three: Laying in the color on top of the underpainting. Fun!
As I mix my paint, I am paying attention to value, hue and chroma. Because I have established a blueprint for my values, I am much more likely to nail those values with accuracy. During this stage, I continue to make sure my drawing hasn't lost its accuracy. Remember, a stroke doesn't always land where you intend. Stand back and make sure you're on track.

STEP FOUR


Step Four: Continue to apply the overprinting. Laying in the background is an important, early step.

STEP FIVE


 Step Five: Continue to apply overpainting. I continue to refine shapes, check my drawing and make  necessary corrections. I step away constantly and take breaks from my painting so I can regain my perspective. Letting the layers dry is very important. I use a lot of glazing and scumbling, and a dry surface is a must.

STEP SIX


Step Six: Finished! Before I apply Gamblin's Gamvar Varnish I make sure the painting is definitely, absolutely dry to the touch, and then add a few days after that.


STEP SEVEN

Step Seven: Framing. Ugh. Again, I did not take a picture of my work framed before I delivered it to the collector. But here is a close up of the frame I used. I wait a few days after varnishing my work before I have it framed, just to be extra careful. Many artists do their own framing, but I have come to realize creating frames is just not in my wheelhouse. I have an amazing framer, Jennifer Helner who I can always count on to make my work look great. Jennifer resides in Grand Rapids, but regularly takes on clients in the Detroit Metro area. 


Links to Painting Materials I Use

Gamblin Products
M. Graham Walnut Oil
Fredrix Extra Smooth Stretched Canvas
Utrecht Tuscan Synthetics
Gamvar Varnish

Thursday, February 25, 2016

Improve Your Painting With A Self-Styled Study Course

Make A Plan, Time Block and Then Do It!
Every artist I know has a deep desire to get better at their craft. In fact, that desire for improvement often serves as the inspiration for that next piece. I'm going to just kill it this time, is a refrain that often goes through my head as I lay in that first pass. But sometimes what happens is that the new piece - and the one after that - doesn't show much growth. And while the pieces we're churning out may be solid and of high quality, we want to take our work to the next level.

Whether I like it or not, a good old "back to the basics" regimen of study and practice sessions bring new levels of skill. I've talked before about cleaning your studio, etc. to bring about better painting. But sometimes organizing or listening to different music while you work just isn't enough to bring about better paintings. Oil painting - any art - requires life long study and practice.

The best way to approach the goal of self-study is be organized and specific.You have to take the time to make a plan of attack. If I were to breakdown my process, it would look something like this:

1. Make A List
First, I get out a piece of paper and pencil (stepping away from the computer and actually using a writing utensil seems to bring about a higher level of thought for me for some reason). I make the heading: 2016 Self-Styled Study Course. I feel quite official doing that. I jot down maybe five "commitment" activities. After some personal history with doing this, I try not to be overly optimistic. I want my study program to be solid, but realistic in terms of scale and time requirements. For example:

1. Study Andrew Loomis's Figure Drawing For All It's Worth. With two workshops coming up involving the figure, I want to be as prepared as possible.
2. Study Andrew Loomis's Creative Illustration (I really want to understand the intricacies of composition and this book came highly recommended).
3. Research and sign up for one to two workshops during the next year.
4. Visit the Detroit Institute of Arts twice in the next month.
5. Make one random sketch per day while I'm watching tv, in the car - as a passenger - or in a restaurant.


2. Time Block
Ladies and gentlemen, your list of all the things you're going to do will not happen without designating a specific period of time you're going to do them. You'll end up saying, Yeah, I'm going to get to that book as soon as I've finished this painting, the laundry, and the dogs have been walked...oops! Where did my day go again?!  Don't wait for a convenient time. Pick a start and finish time, and treat it like a paid time commitment.

For my current Self-Styled Study Course, I've designated 8 am to 9am to read the Loomis texts. I chose that time because usually I'm just messing around on the computer anyway during the early morning hours. I've also written in two dates on my calendars to visit the DIA - coordinating it with my out-of-home studio time which happens to be just a few minutes from the museum. If I end up being in the neighborhood before that date - fine. I'll be ahead of the game.

3. Tell A Few People
There's nothing like accountability to help you live up to your plans. Ask your friends to try and remember to ask you about your progress.

4. A Few Words About Workshops
I cannot say enough about what a great investment it is to take a quality workshop from the multitude that are available out there. Of course, it's much more convenient and less costly if the workshop is near your hometown, but if there's a dream artist you'd love to work with - go for it! I once traveled 14 hours to attend a David Gray workshop and it was worth every penny and minute spent driving (listening to books on tape the whole time).

It's a very bonding experience to be with like-minded people who share the same goals and dreams. Best of all, it's incredibly thrilling to learn from an artist whose work you have admired for years. This year, I've settled on Casey Childs's workshop in April (traveling about 8 hours to Virgina) and Alyssa Monks' s held very near my home in Michigan in September. I sent my deposits and registration forms in for both workshops and I can't wait!

Loomis's Texts I'm Studying - I'm actually reading them and doing the exercises!
I am still painting!   
work in progress, sneak peek:
Pinned, work in progress - approximately 24x36 Just thought I'd share.
 I'll post the final version  soon.


 To be clear, I'm not suggesting you stop your regular painting altogether. You may have a show to prepare for, a class to teach or commissions to finish. But a yearly Self-Styled Study Course really can bring your work to that next level. Let me know if you do and what types of activities you come up with. I'd really like to hear! Email me at amyfell@umich.edu or post a comment.

Tuesday, December 15, 2015

Getting Back Into The Swing Of Things: Think Small

Fishing for Inspiration

After completing over 20 paintings for my solo show in September, I was one tired painter.  I needed to get into the painting groove again, so I tried an old trick: paint something small and fun! I can't even remember how it came to me, but fishing lures seemed to be a fast and easy project. Ok, so they ended up being not so easy or fast - but isn't that the way it always is? The lures were definitely a challenge, but a good one. I quickly became obsessed.

Fishing lures come in an endless variety, and yes, they were so much fun to paint. Full of color (and you know how I love color) and easy to frame as painted them on oil-primed boards. They're on display at the Ann Arbor Art Center now until January 10. www.annarborartcenter.org/exhibitions/artoffthewall-2015/


Sunday, December 6, 2015

Bucket List: Solo Show, Check!


Post Show Reflections


I did it! The opening of A Closer Look at the Birmingham Bloomfield Art Center was September 11, 2015 - almost three months ago - and I still can't believe I pulled it off. That was a lot of planning, painting and panting. Walking into the gallery for the first time and seeing all my work hung on the walls was one scary, thrilling, surreal, and stunning moment. Relief set in. I had actually delivered what I promised: I filled an entire gallery with a solid collection of my best work. Better still was receiving enthusiastic feedback from gallery guests, and not just from my mom! I am grateful to those artists who took the time to email or call me to congratulate me and offer me their praise and positive feedback. It meant everything to me.


So, what would I do differently? As far as the work itself, I can say without hesitation I produced the best work I was capable of at this stage of my journey. And how can one do better than ones best? But there were plenty of promotional and logistical moments I wish I could do over.


Plan Your Postcards Early!
For starters, I would have planned my postcards much earlier and researched how to produce them. Many galleries take care of the promotional materials for the artist, but if you are doing it yourself, please plan ahead. I started only a few weeks before the show and rushed like mad to get them out. The quality of my imagery for my postcards would have been dramatically better if I had known about using CMYK (cyan, magenta, yellow and black) instead of RGB (red, green, blue) when printing cards. I couldn't have switched over to the CMYK version myself as I don't currently have Photoshop, but I have friends who would have happily made the adjustment for me. My postcards looked okay, but definitely not great because of the imagery.


Are The Labels on The Art Right? Do You Have an Artist Statement Displayed?
Moving on. I would have visited the show when the art was labeled to make sure the names and prices were correctly displayed. It was opening night when I discovered some four pieces had incorrect prices. Mistakes happen - no hard feelings. And shame on me for not getting myself out there to proof everything.

I also would have offered to pay/order a nice name graphic of the show name, along with my name displayed on the wall. I would have had my artist statement printed out as well.  Next time.


Post Show Let Down.
A seasoned mentor warned me that one experiences a "let down" after the opening, and I can confirm this is true. Preparing for a show of this scale is an enormous undertaking, and there were plenty of twelve hour days. When you're running on that level of adrenaline, it's almost like a "high." And then, cold-turkey, you STOP. It's the most unsettling feeling. I felt without a specific purpose. I knew that painting again was my only cure, but it was hard to start a new work. Where the heck did my drive and determination go? It's taken a while for me to feel like myself again. But I'm almost there! I'm even tossing ideas around in my head for my next show. It'll be spectacular!

Especially the postcards. 


Friday, September 4, 2015

IT'S SHOW TIME!!!

A CLOSER LOOK
Oil Paintings by Amy Fell
Birmingham Bloomfield Art Center
1516 South Cranbrook Road
Birmingham, MI 48009
BBArtCenter.org
September 11-November 12, 2015
Reception: September 11, 6-8p
http://bbartcenter.org

My first major solo show is only a week away. Yikes! The venue is the Birmingham Bloomfield Art Center where I have studied under very accomplished artists for the past seven years. I am very grateful for this opportunity and I still can't believe it's happening!

I have learned so much about preparing for a show. I can't wait to share what I would have done differently, what I'm glad I did, and how it all turned out. There needs to be a seminar on how to tackle this kind of task! I've said it before: painting is not for sissies.

Wish me luck!

Here's a sneak peek:

New York, New York 20x20
  
313 48x60
Ray Man 36x24


Friday, July 17, 2015

2014-2015 Work

I thought it would be nice to share a review of my collection of work from 2014 to present day. Enjoy!

Gum Balls In Gold, 36x48
Princess, 24x36
Relentless, 48x60
Great Big Ball, 36x48

Ball Jars, 40x36

Green Squirt 24x24
Pink Squirt 24x24
Turquoise Squirt 24x24

Ray, 24x36
Fancy Shoes, 40x36
LED, 30x46

Luden's 40x36
Ready for Service, 36x36
Losing It, 24x36


Monday, February 16, 2015

New Discoveries February 2015

I love new discoveries! Anything that makes the painting process easier, less painful, or best of all: results in a more beautifully constructed finished piece, is just cause for a celebration.  And who wants to celebrate alone? I'm here to share. Without further delay, here they are.

HOW TO AVOID DRY SPOTS ON PAINTINGS WHEN VARNISHING 
I'm sure many of you have experienced this annoying phenomena: you lovingly and carefully varnish your painting. You spend a day or so feeling pride and accomplishment - wow a coat of varnish brings your work to a whole new level of beauty. But a day or so later, you notice several annoying dry spots in areas that make your beautiful varnishing job not so nice. Much to your chagrin, you discover these spots persist even after adding a second, or even third, coat. 

After years of research, I finally think I've cracked the code to this mystery, and I'd like to thank Sadie Valeri, and Gamblin Studio Notes for helping me out (all information gleaned from their fabulous blogs referenced below). The answer: you need to prepare the surface BEFORE the varnish goes on. The method, "oiling out,"is relatively easy and results in a beautifully even surface.  

Oiling Out Method
Tools: 
- Galkyd Painting Medium
- Gamsol Odorless Mineral Spirits
- Small, shallow bowl or cup to mix and later dip into
- Brush, sponge brush or makeup wedge to apply mixture
- Lint free rag
- Gamvar Varnish 

Directions:
1. Mix up a 50/50 Galkyd Painting Medium and Gamsol Odorless Mineral Spirits in small cup/bowl.
2. Apply mixture, using sponge or other applicator you find effective, to a dry painting. I cover the entire painting with this mixture.
3. Let dry a few minutes.
4. Take a lint-free cloth and wipe it off - although not entirely.
5. Proceed with varnishing (my favorite: Gamvar). 

Oiling Out is also extremely effective when you go to work on an unfinished painting that has dried out in areas, which makes it difficult to "read" and doesn't seem to take additional paint layers very well. Apply this mixture only in areas you plan on working on. Don't just apply it and let it dry on top. Please note, that I've described the method I use, but do visit Valeri and Gamblin Studio's blog for more detailed options. 


BEST PAPER TOWEL EVER -  SCOTT "SHOP" TOWELS
I'm so sorry, Viva, but Scott has bested you in the competition for the oil painter's most trusty paper towel. This is the nearest to cloth I've found, and as an added bonus, is cheaper than Viva! Although Target and your grocery store doesn't seem to carry Scott Shop, it is available at hardware stores, and even better, COSTCO. I highly recommend. 


HOW TO STOP YOURSELF FROM OVERWORKING A PAINTING
Lord, I thought I'd never stop this horrible obsession-driven tendency. I have dozens of overworked, got the life blood sucked right out of them, pieces (some quite large!) that make me feel awful. They're all stored in a sad closet, much like the land of misfit toys that will never see the light of day. I keep thinking I might be able to use them for, what, I'm not sure.

Just when I thought I'd never ever stop this cycle, I finally kicked the habit. I am happy to report I haven't added any to the sad collection in quite some time. Understanding what drove me to work and noodle past the point of effectiveness led me to an easy solution. The reason I kept working on paintings I darn well knew I needed a break from:

I DIDN'T WANT TO STOP PAINTING.

Well, no shocker there. If I stopped painting I'd have to clean the house, or face some other mundane boring task. So I came up with a pretty obvious solution: working on several paintings at once. Having a couple of works going at the same time allows me to step away from one when I need to, but still be able work on another piece that is fresh to my eye and mind. Therefore: I can keep PAINTING!!! Interestingly, I've discovered that if I'm not working on at least five paintings concurrently I find myself getting into trouble.

BEST BLOGS FOR PAINTING
Trust me, if you're not visiting these blogs, you're missing out on so much. I am extremely grateful for the information these artists share. If you read, watch their tutorials, I guarantee you will receive an expensive workshop's worth of information.

David Gray http://dgpaints.org/   David Gray also has a post discussing "oiling out" as it relates to working on paintings in progress, using a mixture of 50/50 Gamsol & Walnut Oil that is very helpful.

Sadie Valeri (where I culled a lot of info regarding varnishing) http://www.sadievaleri.com/

Gamblin Studio Notes http://www.gamblincolors.com/newsletters/


Tuesday, January 20, 2015

Ready, Set, Paint! Latest Work

And I thought learning to paint was daunting! I've discovered preparing for shows offers a whole new set of challenges to conquer. Especially when opportunity decides to knock at several doors at once. You need to answer each one, willing and ready to deliver your best efforts. Here's a selection from the body of work I've completed in the eight months or so. These are all rather large scale pieces and required lots of planning and hours and hours of labor.


Ball Jars, 40 x 36
Turquoise Squirt 24x24

Green Squirt  24x24

Pink Squirt 24x24
Fancy Shoes 40x36
Swirls 30x46

Ready for Service 36x36

Ludens, 40x36
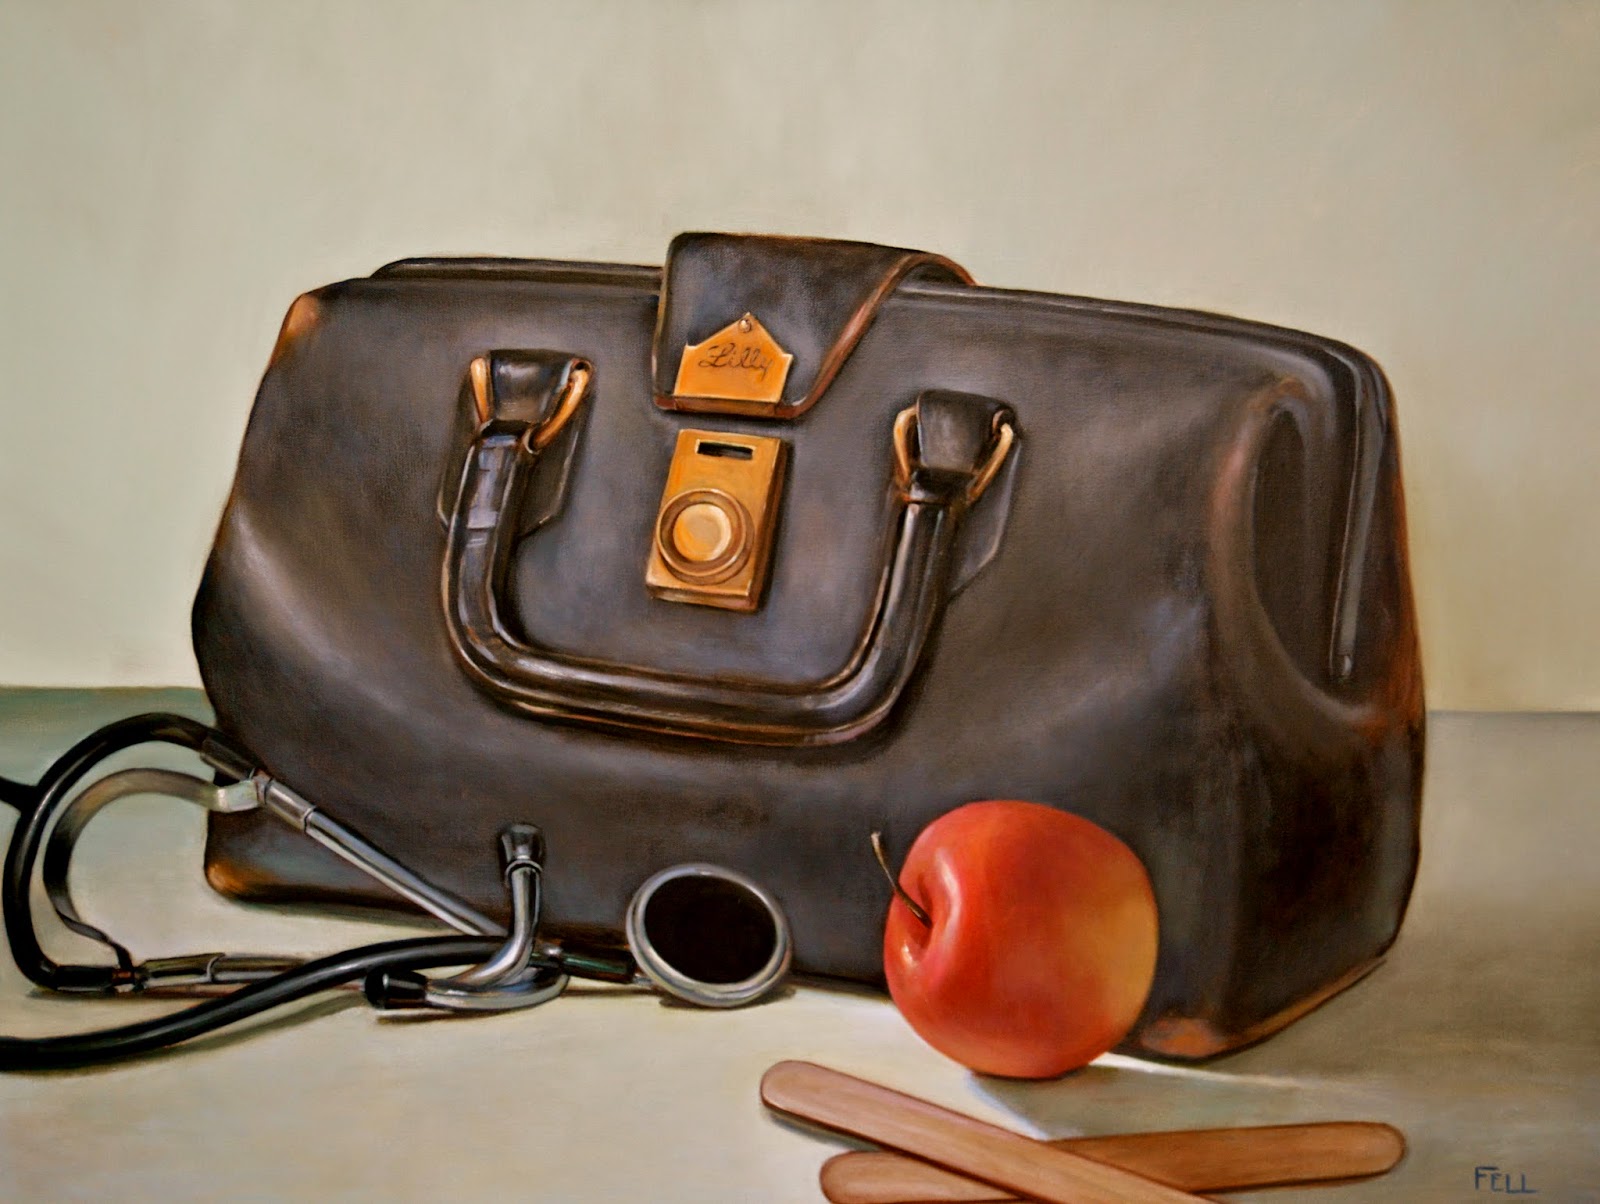
An Apple a Day 40x36